More info
新加坡游泳课程 > Family > How to Swim Freestyle: A Beginner’s First Four Lessons

How to Swim Freestyle: A Beginner's First Four Lessons

how to be faster in freestyle swimming

How to Swim Freestyle: A Beginner’s First Four Lessons

Learn freestyle in this order: body position, then breathing, then the kick, then the arms. Almost everybody is taught it backwards — arms first, because arms look like swimming — and almost everybody then spends years fighting a stroke built on sinking hips. Get your head down and your hips up before you worry about what your hands are doing. A beginner who can hold a flat, relaxed body position with a snorkel or a kickboard is three weeks from swimming a length. A beginner with beautiful arms and low hips is not.

This is written for adults and older children starting from nothing, or from a self-taught stroke that has never felt right.

Lesson One: Body Position

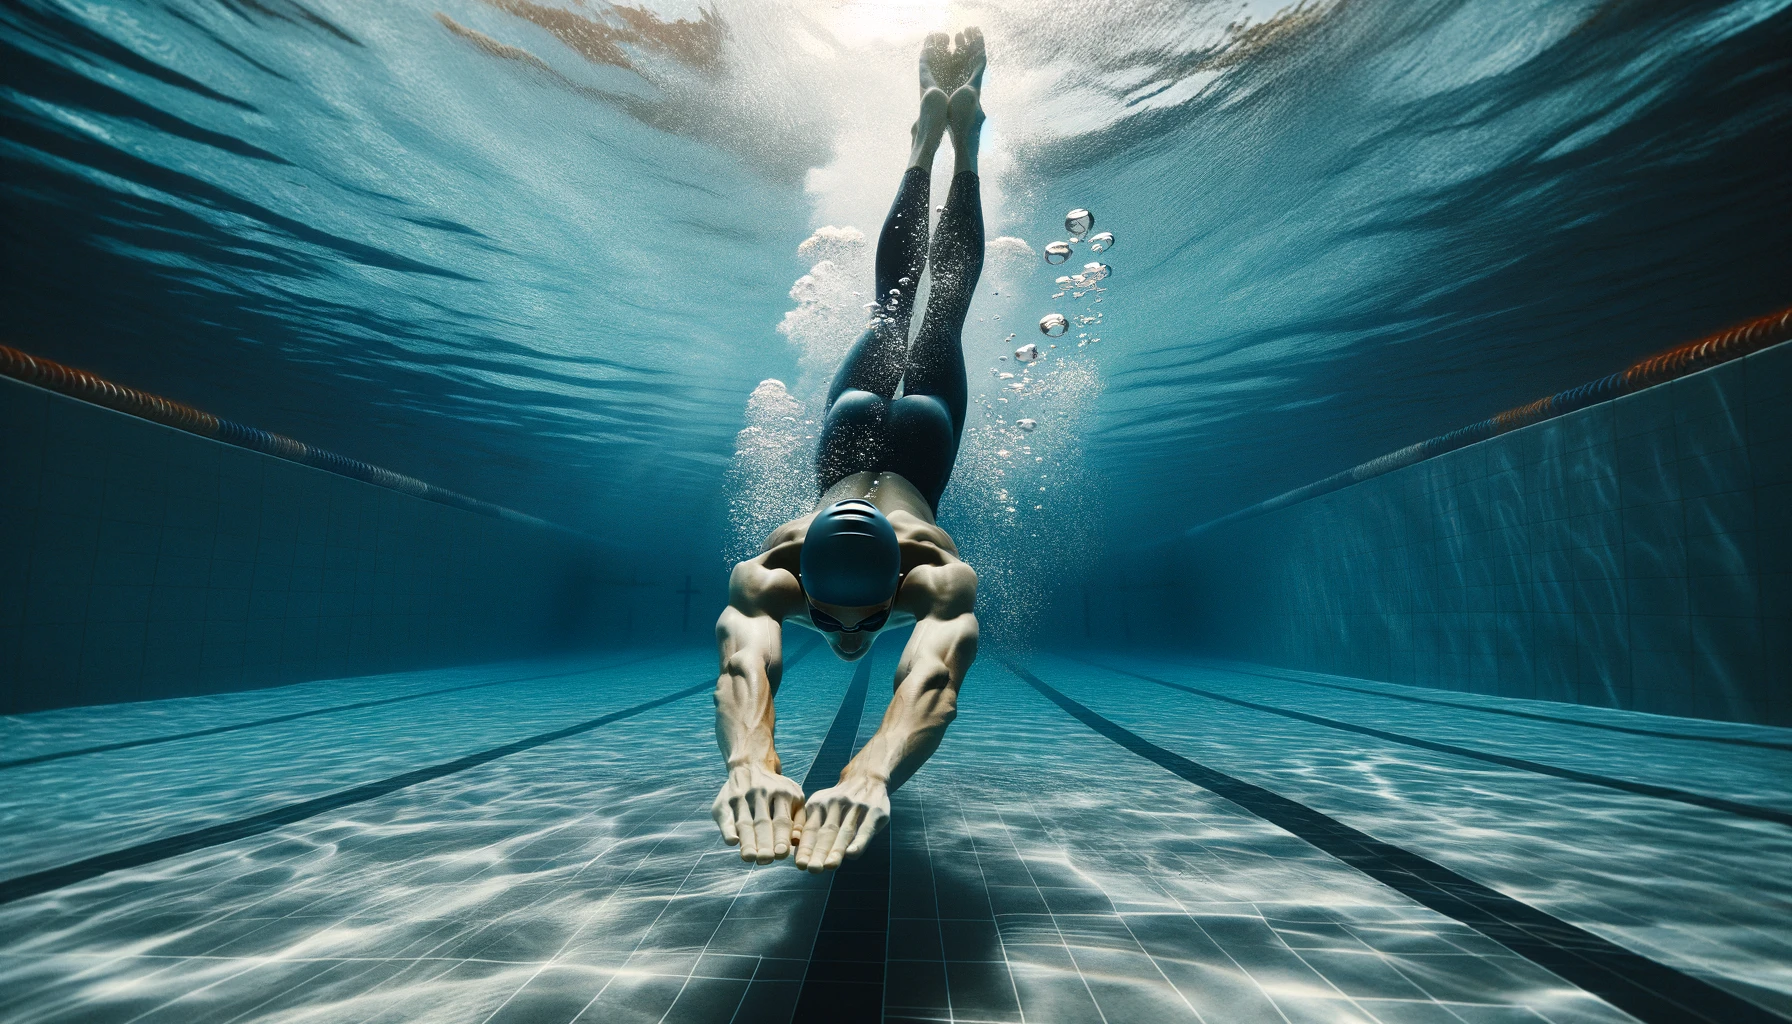
How to swim freestyle with a flat body position and the head down

Push off the wall on your front, arms stretched ahead, face down, and glide. Look straight at the bottom of the pool, not forwards. Press your chest very gently into the water, as though someone had a hand between your shoulder blades.

Your hips will rise. That is the whole lesson.

Repeat it twenty times. It is dull, and it is the single most valuable thing in this article. Every fault that follows — the wide kick, the crossing arm, the desperate breath — is a compensation for hips that sank.

Lesson Two: Breathing

Breathing kills more beginner freestyle than anything else, because the instinct is to lift the head, and the head is heavy.

Stand in shallow water. Face in, breathe out slowly through the mouth and nose, continuously, until your lungs are comfortably empty. Now rotate your head — do not lift it — so one goggle stays in the water and your mouth clears the surface. Breathe in. Rotate back.

The rules are simple. Breathe out the whole time your face is in. Never hold air in. Rotate, do not lift. One goggle stays wet. Keep the top of your head pointing where you are going.

Most beginners hold their breath underwater, then have to blow out and breathe in during the half-second their mouth is clear. It cannot be done, and the panic that follows feels like a lack of fitness. It is not.

Lesson Three: The Kick

How do you swim freestyle with a small fast kick driven from the hip

Kick from the hip, not the knee. Small, fast, and the feet barely break the surface. Ankles loose — floppy, almost.

Most adults kick from the knee, like cycling. It opens the legs into the water like a parachute and it is exhausting for almost no propulsion. Kick with your legs long and your toes pointed, and let the knee bend only slightly, as a consequence rather than a cause.

If your feet are stiff — and if you run or cycle, they are — the kick will feel useless for weeks. Ankle flexibility is what makes a kick propel rather than brake. Short fins help, used sparingly.

Lesson Four: The Arms

Now, finally, the arms.

  1. Entry. The hand enters in front of the shoulder, fingertips first, not across the centre line. Crossing over makes the body snake.
  2. Extend. Reach forwards under the water, long, as though sliding your arm into a sleeve.
  3. Catch. Bend at the elbow and get the forearm facing backwards, high, before you pull. The elbow stays higher than the hand.
  4. Pull. Press the water back towards your feet, not down.
  5. Exit. Thumb past the thigh, elbow leads out.
  6. Recover. Relaxed, high elbow, hand loose. This is the resting half of the stroke.

The body rotates with the arms, so that each shoulder rolls out of the water as the arm recovers. Freestyle is swum on the sides, not flat on the chest.

The Order, and Why It Matters

Lesson What you practise Ready to move on when
1. Body position Glide, head down, chest pressed You glide five metres flat, relaxed
2. Breathing Continuous exhale; rotate to breathe You never hold your breath
3. Kick Small, fast, from the hip You cross the pool kicking on your side
4. Arms Entry, catch, pull, rotation You swim 25m without stopping
5. Turns Touch turn first; tumble later or never Whenever you like

Do not skip forward. A week spent on lesson one saves a year of frustration later.

Common Mistakes

  • Looking forwards. Head up, hips down. Look at the bottom of the pool.
  • Lifting the head to breathe. Rotate instead. One goggle stays in the water.
  • Holding your breath. Breathe out continuously while your face is down.
  • Kicking from the knee. Enormous effort, no propulsion, deep drag.
  • Crossing the centre line on entry. Your body snakes and you fight yourself.
  • Pulling with a straight arm. Bend the elbow; the forearm is the paddle.
  • Learning arms first. The commonest teaching error there is.

Safety

Learn in shallow, lifeguarded water, with a competent person watching. Never practise alone.

Never hold your breath to swim further underwater, and never make a game of who can stay under longest. Repeated or prolonged breath-holding, particularly after hyperventilating, causes shallow-water blackout — a silent, warningless loss of consciousness that has drowned strong swimmers in supervised pools. Beginners are especially prone to breath-holding without realising it. Breathe out, always.

Enter feet first. Never dive into a pool whose depth you have not checked.

Floating aids are teaching tools, not safety devices. A child who cannot swim needs an adult within arm’s reach whatever they are wearing.

If your shoulder hurts, stop and see a physiotherapist. Swimming through shoulder pain does not work.

How Long Does It Take?

An adult starting from nothing, swimming twice a week with a coach and practising once alone, usually swims a continuous twenty-five metres within a couple of months. Fear takes longer than technique. If you cannot yet float, start there — that is a separate and prior skill.

Nervous adults progress fastest in one-to-one private lessons, where there is no audience, then move into group swimming classes once the water is ordinary. Children generally do the reverse. Practising between lessons roughly doubles the rate of progress; if you have a pool in your building, see learning in a condominium pool. Once you can swim lengths, the levers for going faster are covered in stroke count and tempo. To find a pool nearby, start at swimming near me.

Public pool timings and learn-to-swim programmes are published by 活跃SG.

Frequently Asked Questions

Why do my legs sink when I swim freestyle?

Usually because you are looking forwards. Put your head down, press your chest gently, and let the hips rise. Dense legs sink more readily, but head position is what you can change.

Should I breathe every two strokes or every three?

Breathe as often as you need. Bilateral breathing every three balances the stroke and is worth learning, but under-breathing to look efficient makes you tense and slow.

Do I need a flip turn?

No. Touch turns are entirely acceptable and plenty of lifelong swimmers never tumble. Learn it later, if at all.

Why am I exhausted after one length?

Almost always breath-holding and a knee-driven kick, not fitness. Fix the exhale first.

How often should I practise?

Twice a week for technique to stick, three times to also build fitness. Short, frequent sessions beat long, rare ones.

Am I too old to learn freestyle?

No. Adults learn faster than children once the fear is handled. They simply arrive with more of it.

How to swim faster freestyle by rotating the body and keeping a high elbow catch

Previous post How to Swim Breaststroke: Learning It From Scratch Next post Strength Training for Learn-to-Swim Adults: What Actually Helps

Related posts

发表评论

Hello.

了解 Singapore Swimming Lessons 的更多信息

立即订阅以继续阅读并访问完整档案。

继续阅读